Home > Creating a Business Plan > Worksheet Features
Worksheet Features
The functions and features of input tables used on iPlanner worksheets are rather similar.
Entering numbers by months, quarters and years
Financial forecasts can be entered by years, quarters or calendar months. The default entry period is a calendar year.
To enter numbers by quarters or months, click on the year link (column header).
To enter numbers by months, click on the quarter link.
To close periods, click again on a corresponding column header.
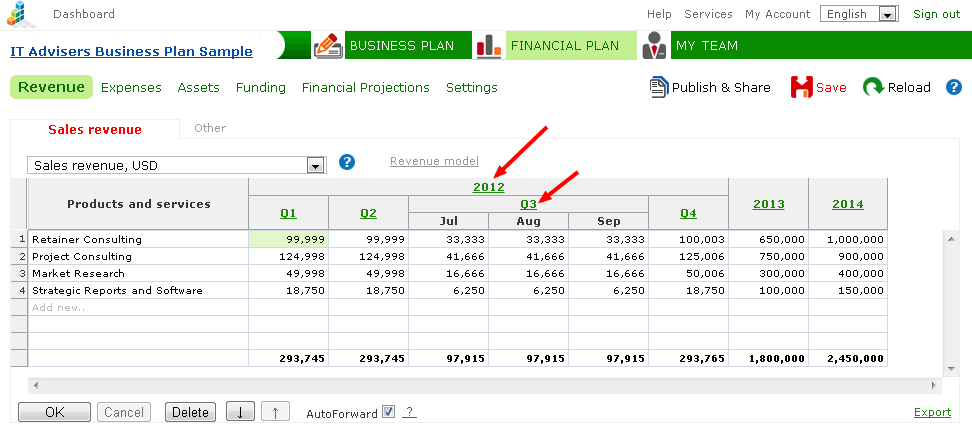
When entering financial forecasts by years, the values of quarters and months viewed "downwards" will be calculated automatically. And vice versa, if values are entered with the accuracy of calendar month, they will be automatically summarized "upwards" to get quarterly and yearly forecasts.
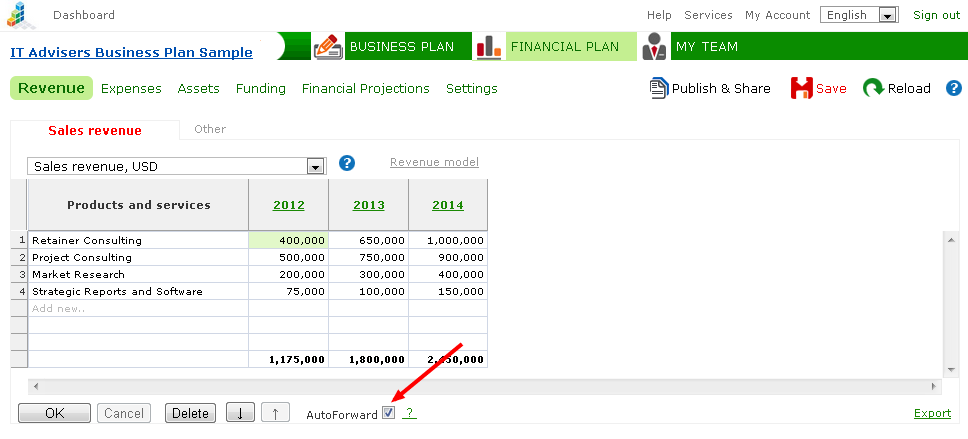
AutoForward - automatic transmission of forecasts
In most cases, this software feature will help you to save time and reduce the number of entries. Sometimes, however, forecasts have to be entered in more detail, for example, as in cases of seasonal income-expenditure patterns.
In such cases, you can turn AutoForward off.
Delete rows
To delete one or several rows, select the required rows and click "Delete". When the confirmation form appears, click "OK".
Add rows
To add a row, enter the values (name, numbers) in the empty row. Click "OK".
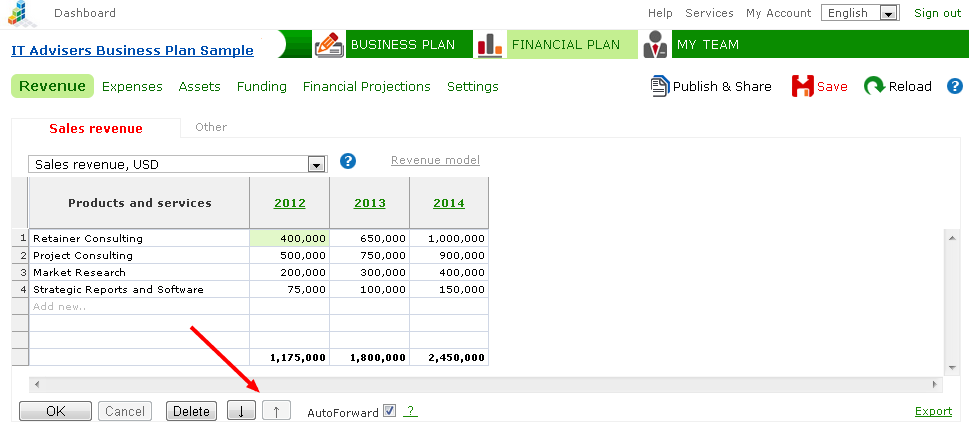
Increase and decrease the number of rows in the table
To increase the number of rows shown on the input table page, click on the button with the downward arrow ↓
To decrease the number of rows, click on the button with an upward arrow ↑ (this could result in an increase of pages).
See more
Saving and Team Work
Start and Setup
Publishing and Sharing
| 